Lots of documents need headers and/or footers. You put the recipient’s name, the date and the page number on the top of page 2 of your outgoing letters. You put the page number and maybe the document name and a place for initials on the bottom of every page of your agreements. Learning how to insert, format and control headers and footers is essential to creating documents that both look good and work well.
Let’s get started.
Introduction to headers and footers
Now that you’ve decided what size page you’re printing on, what margins your pages have, and which direction your text is printing in, let’s get a little bit fancy. You’ve probably seen documents with page numbers on the bottom of every page, or letters with the recipient’s name, the date, and the page number on the top of every page (except the first one), like so:
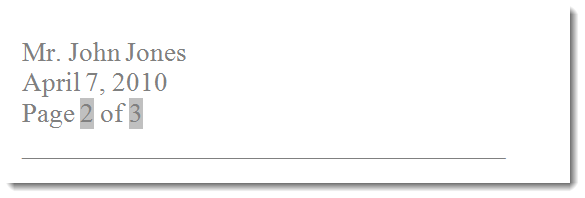
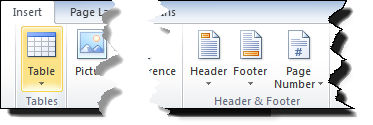
This aspect of Page Layout is called Headers and Footers. To insert these in your document, go over to the Insert tab:
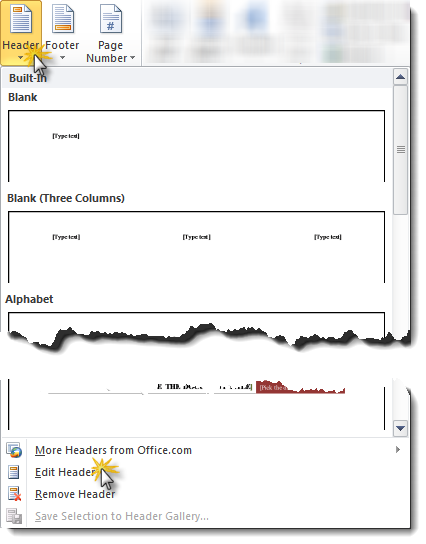
Microsoft Word will show you a list of predefined headers or footers (depending on whether you clicked the Headers or Footers button), and if one of these suits you, go ahead and click it. Regardless of whether you use a predefined header or footer or want to start from scratch, you can click Edit Header (or Footer) to get access to the header or footer area in your document. For illustration purposes, let’s create a header from scratch using the Edit Header command:
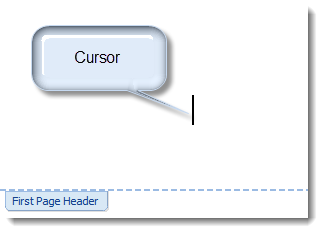
Once your cursor is in the header …
… you’ll see a new tab pop up in the Ribbon called Header & Footer Tools:

This is what’s called a contextual tab, so named because it only appears in the context in which it’s useful. If you’re editing a header or footer, this tab will appear. It will disappear after you’ve clicked the Close Header and Footer command shown on the far right. (Another example of a contextual tab is Tables.)
Here are some things you’ll want to note about Header & Footer Tools (working right to left):
- Close Header and Footer takes you back to your main document text.
- Header from Top and Footer from Bottom is a convenient way to reposition your header/footer relative to the top/bottom edges of the page.
- The Different First Page checkbox allows you to have two different headers: one on the first page and a different one for the second and subsequent pages. Particularly good for correspondence.
- Different Odd & Even Pages lets you have different headers/footers based on whether the page number is odd or even. Useful for book or other manuscripts like bound CLE handouts.
- The Go to Header, Go to Footer, Previous and Next buttons are handy navigational tools. If your cursor is in the header and you want to edit the footer, click the Go to Footer button, for example. Previous and Next help you navigate between successive headers and footers (if you’ve checked Different First Page or Different Odd or Even Pages, or if your document has section breaks with distinct headers/footers for each section).
- Date & Time lets you embed the current date, either as plain text or as a self-updating field.
- Page Number lets you embed the current page number in a number of formats or as a plain number.
Word 365 variation
Word 365’s header/footer feature is slightly different. The Header & Footer button is found (as in the desktop Word versions) on the Insert tab:

Here’s where things become different:
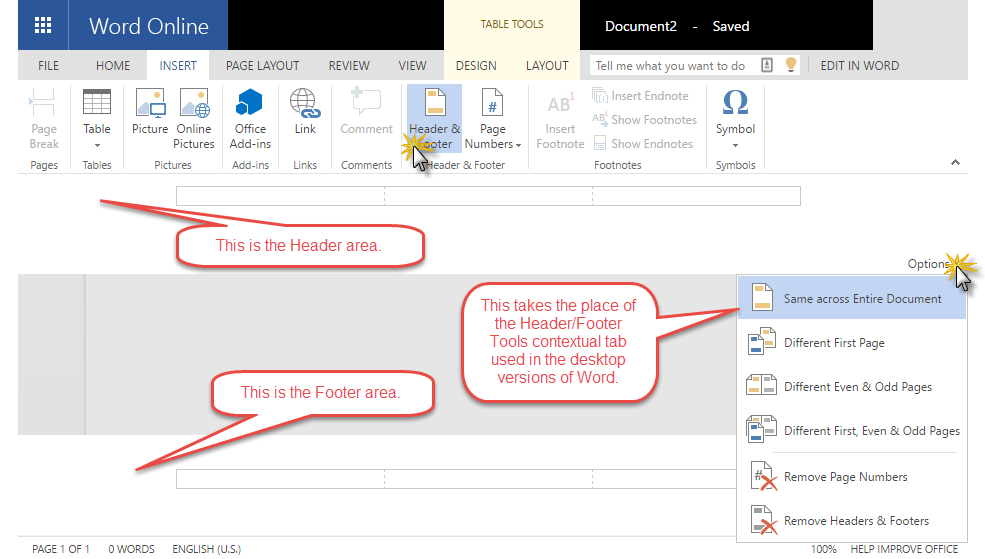
First, Word 365 assumes you’ll want a tri-part header or footer and inserts a three-cell table in each. Personally, I find this convenient, since a lot of my footers particularly use three-cell tables</a> to hold document information besides the page number. You may find this table more of a hindrance than a help. If so, you can select the table and delete it.
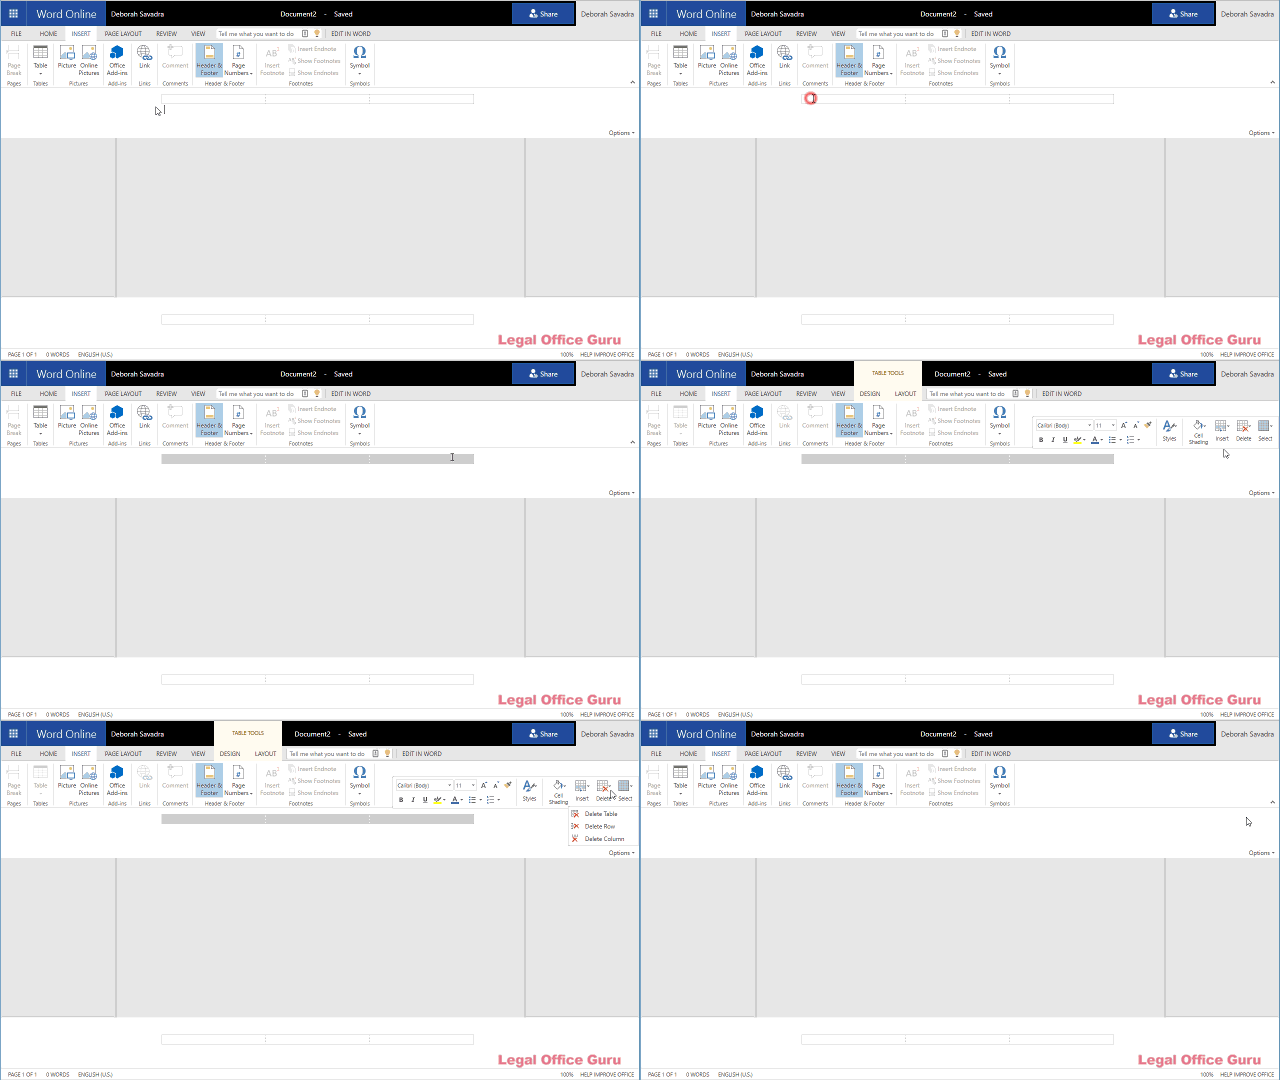
As shown above, select the table by holding down the left mouse button and dragging it across, then choose Delete Table from the Table Tools tab that pops up.
At this point, you can format your header any way you wish. Unfortunately, Word 365 users can’t use any fields other than the current page number.
Creating a header for a letter
Just as an example, let’s do a header for a letter like this:

This content is part of a course
What you’ve learned here is just a small part of my Basic Word Skills for Legal Professionals course, which will take you from “I don’t know where to find any of the commands” to “I know exactly how to do that!” Click here for more information.
