
I’ll admit it: I’m a fan of Track Changes. Sure, it has its problems. It’s not perfect. There are other third-party tools that frankly do a better job. But it’s a darn handy way to capture revisions and comments to a document within Word itself without running an outside process.
But some people just don’t want to use Track Changes. Whether they simply don’t know how to use it or they’re just plain wary of it, they usually just send you a revised version of whatever you sent them, leaving you to figure out exactly what they did.
And that’s what you use Compare Documents for.
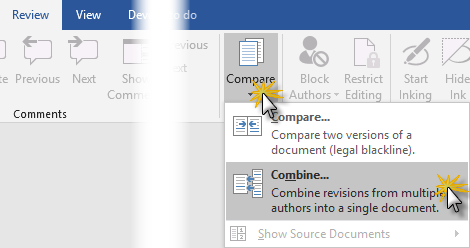
The Compare Documents feature is on the same Review tab as Track Changes:

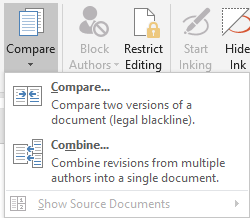
You’ll notice Word has two options under that button: Compare and Combine.
What’s the difference?
Compare lets you take two documents (usually one original and the other one an edited version of the same document) and produce a redline (a.k.a. “legal blackline”) showing what’s changed from the original to the edited version.
Combine takes two documents that have been edited from a common source document (in other words, they’re similar enough to make for a meaningful comparison) with revisions marked with Track Changes and combines the two sets of changes into a single document with everyone’s revisions marked. While the Combine feature can mark everyone’s text revisions, it can only preserve one set of formatting revisions. And if your two reviewers have made different revisions to the same bit of text (e.g., they’ve both edited the same sentence), both sets of text revisions are reflected in the resulting combined document.
So, to summarize: use Compare with two documents that don’t have revisions marked with Track Changes; use Combine with two documents that do have revisions marked with Track Changes.
Comparing two documents
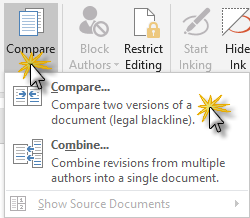
For the first scenario, you’re taking an original document and comparing it with a revised version of that same document to produce a redline showing what changes have been made. To start, go to the Review tab and click the Compare drop-down and choose Compare:
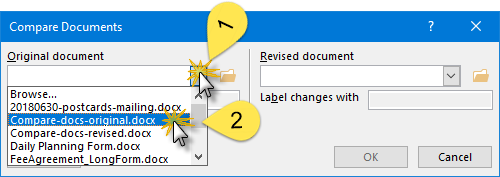
You’ll get a dialog box that looks like this:

Typically, the drop-downs beneath “Original document” and “Revised document” will give you a list of recently-accessed documents. You can always click Browse at the top of the list if you don’t see your document listed. What I generally do is make sure I have both the original and revised documents open in Word before I start this process; that way, I know I’ll be able to find them in this list easily.
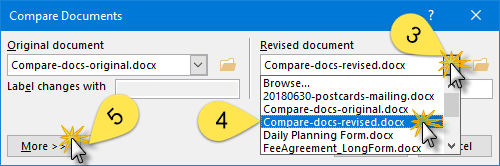
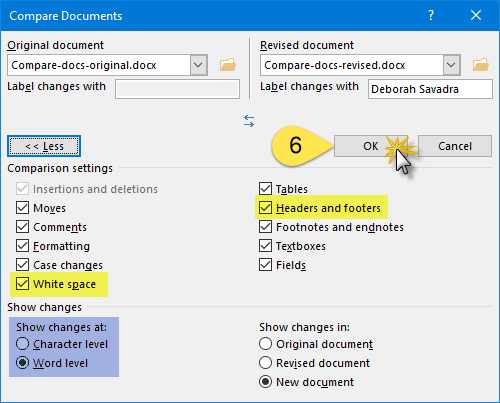
Once you click More in the lower left-hand corner, you get additional choices for how (and whether) Word will mark up various types of changes. My personal preference is to uncheck both the headers and footers and white space checkboxes (highlighted in yellow above) because marking those changes rarely tells me anything useful.
And the difference between showing changes at the character level vs. word level (highlighted in blue above) is this: If I take the word “View” and change the “v” to lower-case, character-level will show the change as “Vview”, whereas word-level will show it as “Viewview”. Make sense?
Click OK and you’ll get this:
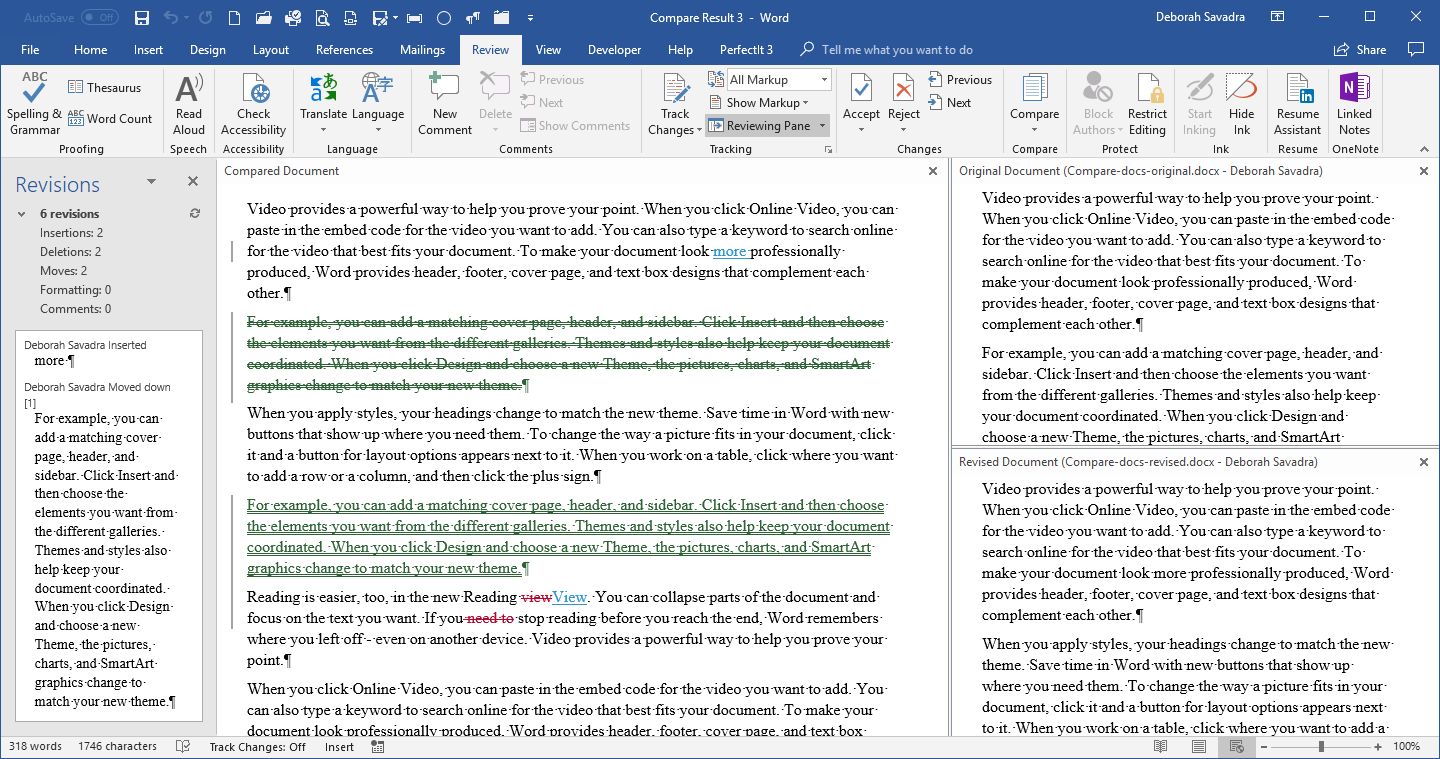
Whoa, Nellie! That looks complicated, right? That’s about all the detail you could possibly stand. But this is actually pretty cool:
- My compared document is the one in the largest view in the middle. That’s got the redline all marked up showing the changes.
- Over on the left is a summary of my revisions. That’s the Reviewing Pane, and if you’ll look up at the top in the Tracking section, you’ll see that it’s dark grey. That indicates that the Reviewing Pane is active. Click on the drop-down, and you can switch it from vertical (its current setting) to horizontal (which would put it across the bottom), or you can switch that completely off.
- Over on the right are my original and revised documents, the ones that were used to create the compared document in the middle. And here’s what’s cool: When I scroll down the compared document, the original and revised documents scroll right along with it! If you don’t see your original and revised documents over on the side, click Compare on the Review tab, then choose Show Source Documents > Show Both. (You’ll notice you can also show either the original or the revised document alone, if you prefer.)
If that screen’s visually too busy for you, you can always shut down any one of those views (the Reviewing Pane on the side or bottom, the original document or the revised document) by clicking the little “x” in the upper right-hand corner of their views.
Want to save that redline for later reference (by you or someone else)? Just click on the File tab and choose Save As to save it as a new Word file.
Combining two redlines
But here’s a different scenario: Perhaps your reviewers were willing to use Track Changes, but they couldn’t use it in the same physical copy of the document. So you got back two different documents, each with that person’s tracked changes.
How do you reconcile those?
Here’s where Combine comes in handy, because it can take two redlines and combine them into one.
Now, I will warn you: in some cases, the results can be a bit messy. But if you’re trying to get one document to show you what everyone’s done so you can accept/reject revisions, this is how you’d do it.
The process is very similar to the Compare feature:
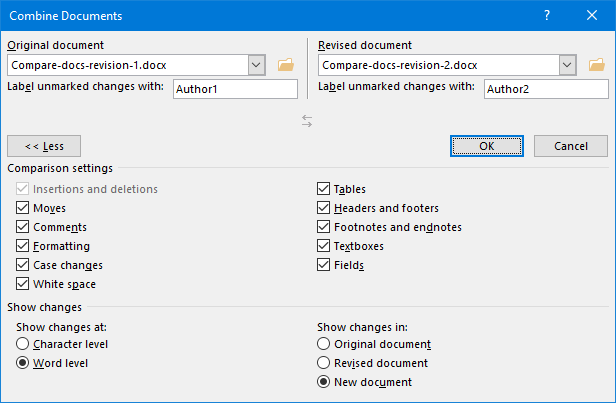
Notice I changed the names to “Author 1” and “Author 2”. You’ll see why in a moment.
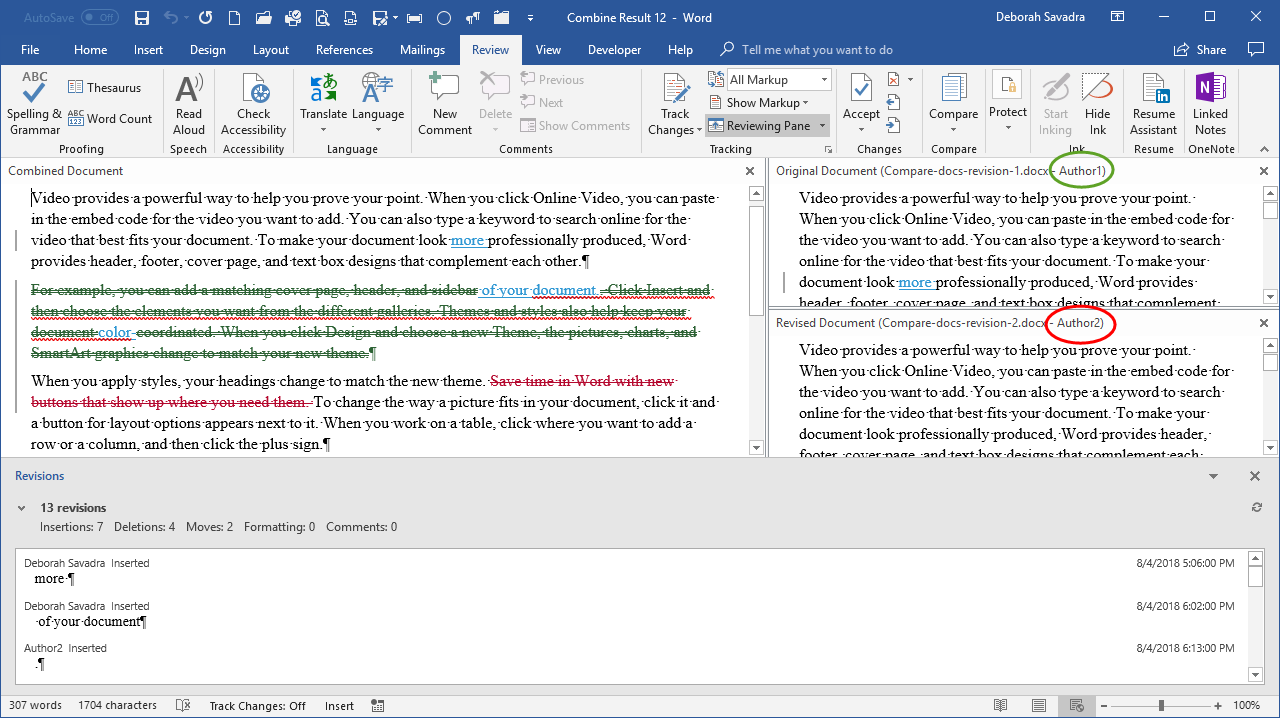
Looks pretty familiar, right? Notice how the changes I made in the Label unmarked changes with field for each document (Author1 and Author2) now show up in the panes on the right (circled in red and green above).
And, just like in the Compare example, scrolling one document scrolls all of them so you’ll see the same section of the document across all the viewports.
In this particular example, I have all of the changes of a particular type set to one color (rather than being specific to a particular author). That means that any deletion, regardless of who did it, is in red, and any insertion is in blue. I can always hover over a particular change to see which author made it (it’ll pop up in a little window when I hover my cursor over it).
If you’d like for each author’s changes to be more visually obvious (different colors for each author), see the lesson demonstrating how to configure Track Changes Options.
This content is part of a course
What you’ve learned here is just part of my Track Changes Plus course, where you can learn how to leverage Track Changes to make co-editing documents with other easier and saver. Click here for more information.