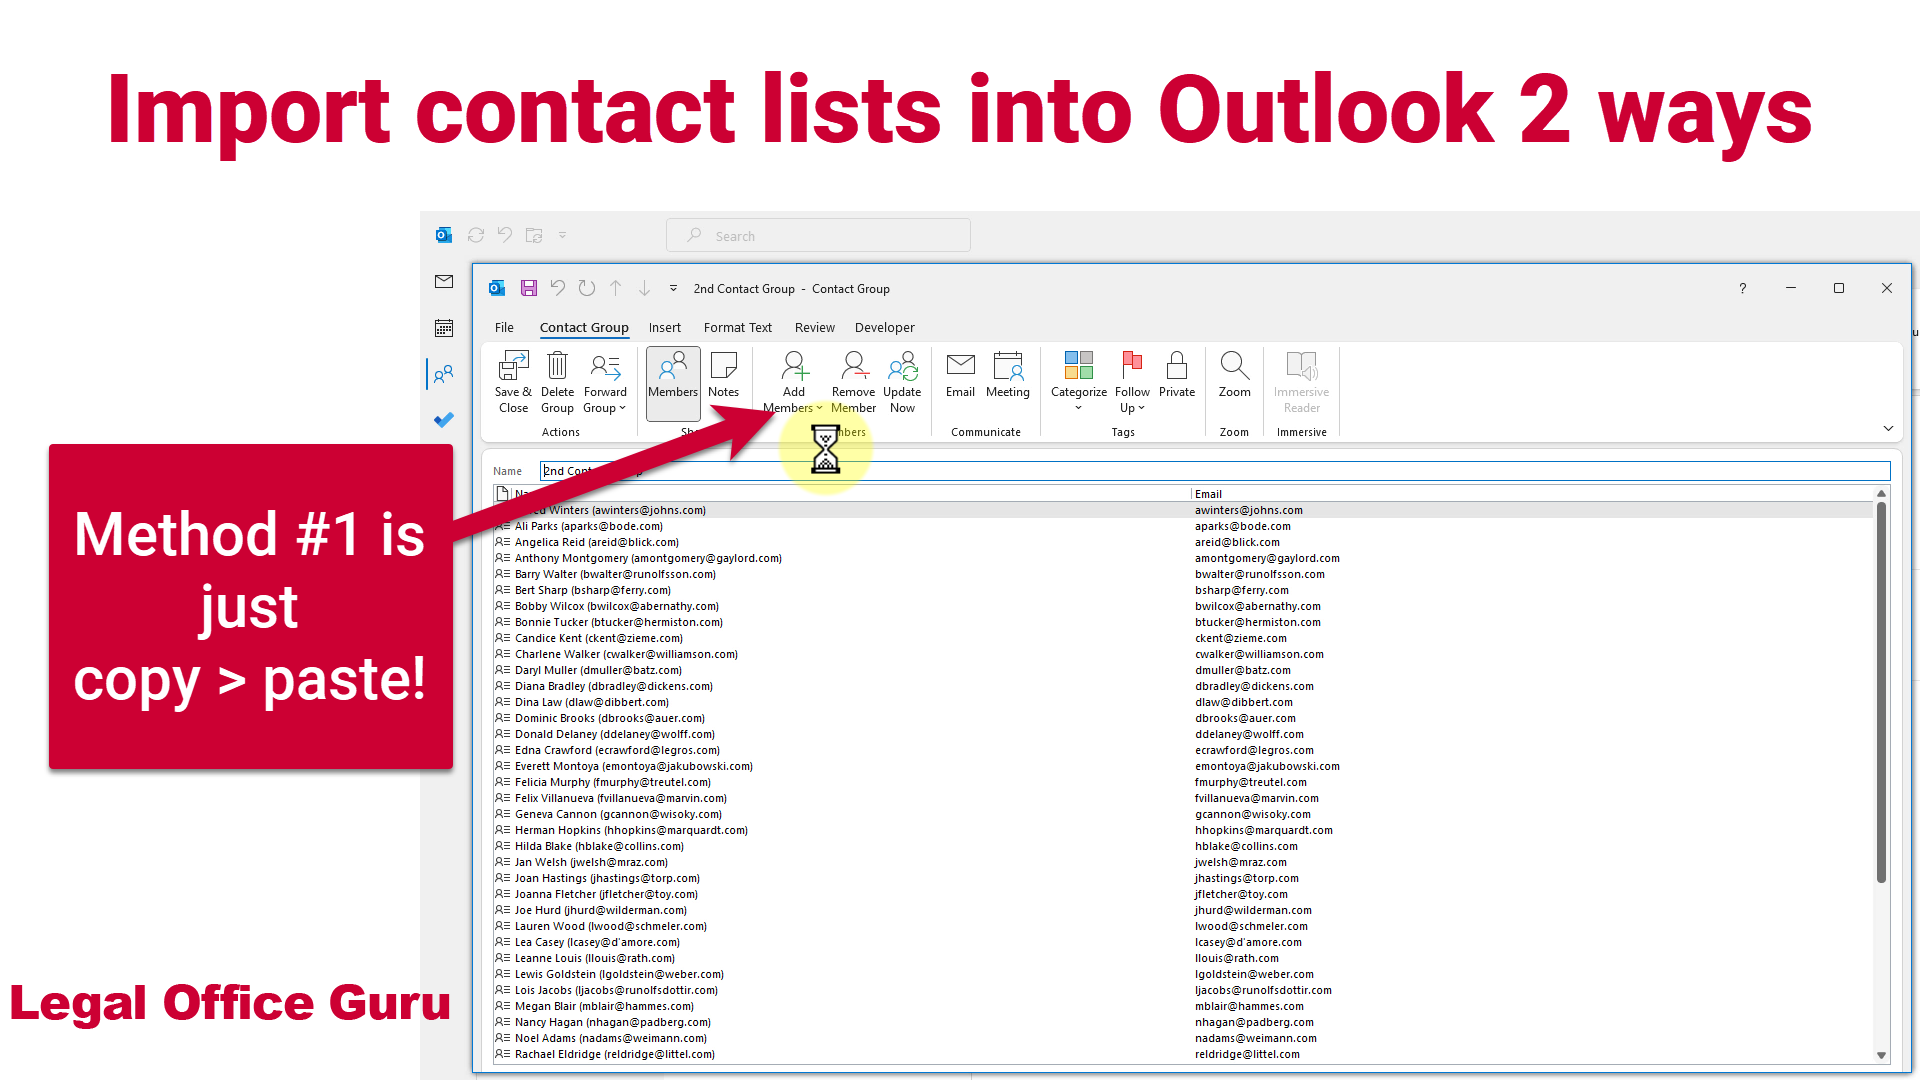
Outlook contact groups can be a handy way to organize groups of recipients like a case’s email service list or an organization mailing list. If you don’t already have your proposed contact group’s email addresses in your Contacts folder, here’s a way to import them quickly.
(Note: to view this full-screen, click the double-arrow button near the lower-right-hand corner of the video player.)
Quick & Dirty Contact List
If all your contact group needs is the list of names and addresses, you can import those directly into your contact group without having to add them individually to your Contacts folder.
The easiest source from which to import your contact group’s emails is an Excel worksheet as shown here. Be sure that the names are directly adjacent to the email; if those two columns are not next to one another, select the columns between them, right-click and choose Hide. Don’t worry – that won’t delete any data, just get it out of the way.
Now that you have your names and email addresses next to one another in Excel, go to Outlook and click on the people icon to go to the Contacts folder. On the Home tab, click on New Contact Group to open the Contact Group dialog box. Type a name for your contact group into the Name field.
Switch over to your Excel worksheet, select the names and email addresses, and copy them using CTRL-C.
Switch back to Outlook and on the Contact Group tab of the Ribbon (which should be open by default), click Add Members > From Outlook Contacts. In the Select Members: Contacts dialog box, click your cursor into the Members field and use the keyboard shortcut CTRL-V to paste the entire list there. Click OK to return to the Contact Group dialog box.
Once you’re back in the Contact Group dialog box, click Save & Close to save your new contact group.
Import as Contacts
If instead you need to import a complete set of names, addresses and other contact information into your Contacts folder and use those to create your contact group, you’ll need to import your list a different way.
First, to keep this group of contacts segregated to make them easier to find when we’re creating the new contact group, I’m going to create a subfolder under the Contacts folder called Import.
Next, I’m going to switch over to Excel and review my contact list. I need to make sure the first row has the column headers and has at least the name and e-mail address for each contact. Be sure the header for e-mail is “e-mail” and not “email” so Outlook recognizes it (it won’t recognize email without the dash).
Now that my contact list is in the right format, I need to save my contact list as a comma-delimited file with the file extension .csv so I can import it into Outlook. To do that, I’ll go to the File tab, choose Save As and choose a destination that’s easy to get to and remember, name the file, and make sure I choose CSV UTF-8 (comma-delimited) csv as the file type. Once I’ve done that, I’ll close the Excel workbook.
Now, I can switch back over to Outlook and under Contacts click the file folder I created earlier. I’ll go to the File tab and choose Open and Export > Import/Export. In the Import and Export Wizard dialog box, I’ll choose Import from another program or file and click Next. Under Select file type to import from, I’ll choose CSV and click Next again. Under File to import, I’ll click Browse to find the CSV file I just created from Excel, click Open, then click Next again. In Select destination folder, I’ll make sure my new subfolder under Contacts is selected and click Next to move to the next step in the import wizard.
To ensure all the information comes in correctly, I’m going to click on Map Custom Fields and double-check that all of the columns from my Excel worksheet have been assigned a destination. If I see any field that doesn’t have a place to go, I can drag it from the column name on the left over onto the field name on the right, then click OK to save your field mapping. Click Finish in the import wizard to import your new contact list.
Now that you have your new contacts imported, it’s time to gather them into a contact group. In the Outlook Contacts folder, go to the Home tab and click New Contact Group, then in the Contact Group dialog box, click Add Members > From Outlook Contacts. Use the Address Book dropdown to navigate to the folder where you’ve imported your new contacts, select them all by clicking on the first one, holding down the SHIFT key and clicking on the last one, then click Members at the bottom to bring them all into the new contact group. Click OK to return to the Contact Group dialog box, name your list, and click Save & Close to save your new contact group.
To send an email to the group, either click on the contact group and click Send email on the right, or start a new email and address it with the contact group name.

