
Watermarks (that light-colored text that appears behind the main text of your document) can be really handy. For instance, would anyone mistake this for a final document?

I think not. I mean, that’s pretty clear, right?
Now that you’re convinced of the Watermark’s usefulness, here’s how to insert and format one.
Note for Word 365 users
While Word 365 will display watermarks in documents created in any desktop version of Word, you can’t change an existing one or insert a new one.

Adding a watermark
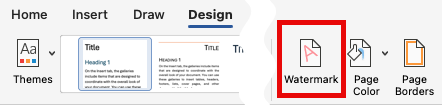
If you want to add a watermark to your document (say, to denote a particular printout as a draft), you can do that from the Design tab on the Ribbon. You can choose from the ones that Microsoft provides for you, or you make your own. (You’ll notice I saved one of my favorites under @DES.)

On the Mac, there’s no dropdown. The command button takes you directly to the dialog box to create a watermark:
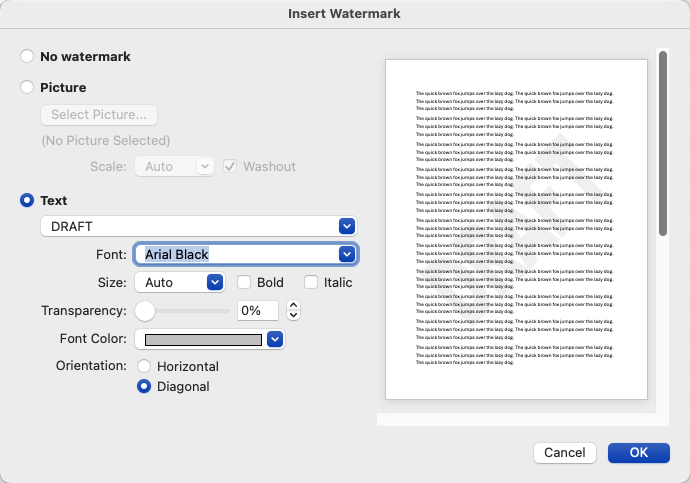
If you decide to make your own Watermark in Word for Windows, click Custom Watermark at the bottom of the menu shown above. Once you’re in the Watermark dialog box, you can specify the text, font, color, size and placement of the watermark. Below, for example, are the settings I use for my customary DRAFT watermark:

(I usually uncheck “Semitransparent” because some printers don’t play nicely with that setting. You might want to experiment to see what works better for you.)
To remove a pre-existing Watermark in Windows, click on Remove Watermark in the menu shown above (right below Custom Watermark).
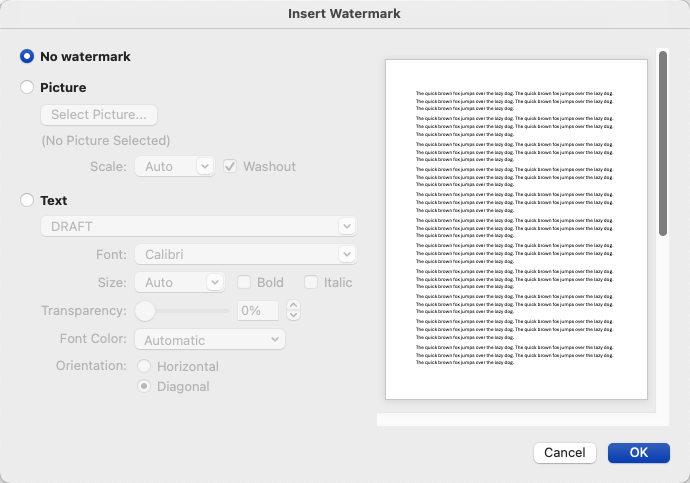
To remove a watermark on the Mac, click the Watermark button on the Design tab and choose No Watermark in the dialog box.
Deleting a watermark
Once you’re done editing the document, you’re probably done with that DRAFT watermark, too. To get rid of it, go back to the Design tab, click on Watermark, then click on Remove Watermark.

Deleting an old WordPerfect watermark
If you’ve converted a WordPerfect document with its own watermark, you may have a tough time getting rid of it — look below for a special tutorial on how to remove a WordPerfect watermark. The short version is, you’ll need to double-click into the header area, then press CTRL-A (to select all the text and objects embedded in the header/footer, including the text box containing the WordPerfect watermark), then press Delete. If you’ve converted this document directly from WordPerfect, you may have to do this multiple times in multiple headers/footers — converting text from WordPerfect tends to embed Section breaks all over the text, which means there’s a different header/footer for each Section. Fun times!
(Note: to view this full-screen, click the full-screen button near the lower-right-hand corner of the video player.)
This content is part of a course
What you’ve learned here is just a small part of my Basic Word Skills for Legal Professionals course, which will take you from “I don’t know where to find any of the commands” to “I know exactly how to do that!” Click here for more information.