
Ever have a document that needs to have a paragraph like this?

I usually accomplish this trick (having left- and right-justified text on the same line) in Microsoft Word with Tables. For me, tables make a lot of alignment issues a lot easier. Here, I’ll turn on the gridlines (on the Table Tools | Layout tab that comes up whenever your cursor is in a table) and show you:

Pretty straightforward if you’re use to Tables in Microsoft Word. The left column is left-justified, and the right column is right-justified. Easy-peasy … if you know how.
But not everyone’s comfortable with Tables in Word. And because there’s always (okay, almost always) more than one way to accomplish the same goal in any Microsoft Office application, here’s another alternative: Right Tabs:

See that right-pointing arrow between the date and the dollar amount (I’ve got Show/Hide turned on so you can see the codes)? That’s a right tab I set up at the 6.5″ mark (on an 8.5″ wide sheet of paper with 1″ margins on both sides, 6.5″ would be the right margin). I typed the date, set up the right tab, and started typing the amount at the right-hand margin.
Let me back up and explain a bit.
With regular tabs, you’re moving the cursor over and beginning your typing at that point. This results in the left edges of your tab stops being aligned (if you’re using tabs to, say, type in columnar data), like so:

See how the left edges of each of those columns lines up? Those are left tabs. And that’s what you get by default when you press the Tab key.
Sometimes, though, you need for the data to line up on the right-hand side:

For this example, I set a left tab at 1.0″ (for the Date of Hire column, since it starts 1″ from the margin) and a right tab at the 3.5″ point (the right-hand edge of the Position Title column) so that data would line up along the right side rather than the left.
Here’s the step-by-step for setting up the tab stops:
1. First, I brought up the Paragraph Format dialog box by clicking on the arrow in the lower right-hand corner of the Paragraph section of the Home tab:


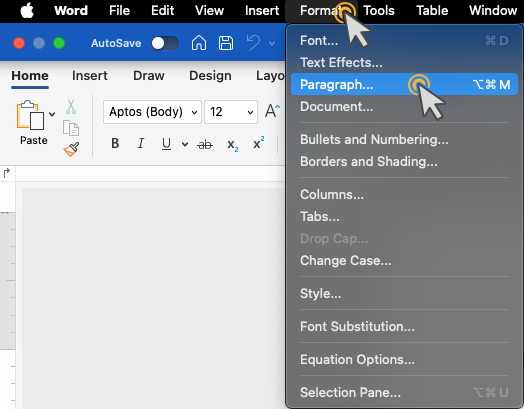
On the Mac, you can go to the Paragraph dialog box from Format > Paragraph up top:
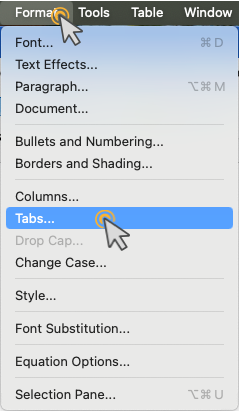
… or you can go directly to the Tabs dialog box from Format > Tabs:

2. Then, I clicked on the Tabs button in the lower left-hand corner of the Paragraph dialog box above to bring up the Tabs dialog box:

3. The above is what the default settings look like. First, I typed 1.0 in the Tab Stop Position field in the upper left, chose Left in the Alignment section in the middle, then clicked the Set button. That set up the left tab for the Date of Hire column.

4. Next, I typed 3.5 into the Tab Stop Position field, chose Right in the Alignment section in the middle (to get a right tab this time instead of left), and clicked the Set button again.

5. Once I set those two tabs, the dialog box looked like this:

Now all that’s left is to type the data into the respective columns: typing the surname first, hitting the Tab key to go to the Hire Date column at the 1-inch mark and typing a date, then hitting the Tab key again to bring the cursor to the 3.5-inch mark to begin typing the Position Title.
You’ll notice, as you start typing in the third column with the right tab, that your letters move to the left to keep the alignment of the column on the right. Don’t freak out — once you press the Return key and begin typing the next line, everything will be fine.
If you find that, once you get further in your document, you need to restore the default tab stops (say, for paragraph indentation), you can go back into the Tabs dialog box and click the Clear All button. This will clear your custom Tabs from that point forward, restoring the document’s default tabs (or allowing you to re-set some other Tab stops as appropriate).
Video: Word for Windows
(Note: to view this full-screen, click the full-screen button near the lower-right-hand corner of the video player.)
Video: Word for Mac
(Note: to view this full-screen, click the full-screen button near the lower-right-hand corner of the video player.)
great tip. so useful!
How do I get the rest of the document to be a full page? After I coplete my table, the rest of the document is set up in columns and I can’f figure out how to turn the table off and continue with the rest of my document. Thanks a lot and I look forward to hearing from you.
Once you’ve got your cursor after your columnar data, go back to the Tabs setting dialog and hit Clear All. That should get everything back to the default tabs. (If you’ve already got text or even spaces/hard returns after the columnar data, select all that first, then do Clear All.)
Great,it was very useful, thanks a lot 🙂
Hi. I would like to use right tabs in labels. (so I can have a title on the left and the year on the right). I have set the tabs in each label area, but when I ‘tab’ I just go to the next label. Have I missed a step?
Since labels in Word are done in tables, the tab key moves from cell to cell (as you’ve noticed). To insert a tab space in the middle of a table, use CTRL-TAB instead.
I would use the tabs to align dates to the right on a resume. Thanks, great tip!
How do I know what value to set the tab to? I mean I know where I want the column to start, but how do you tell how many inches that is? Thanks.
Make sure you can see the ruler up top. Go to the View tab and check the box next to “Ruler” just left of the center of the Ribbon.
Hi, I am trying to make a simple template in Word 2007, and it will NOT cooperate. I have 2 columns, the left hand one is only 1.5″, and the rest is the right hand column. I set it to have 20 rows of the same. All I want the darn thing to do is let me type text in the left side box (dates) and the rest of the text in the right hand side box. Now why is that so hard? When I type in the right side box, it just keeps on going right off the page into oblivion, without stopping. I need the text to stop before the border of the right side box ends, and if it is too much, just start another line beneath itself (expanding the box to be larger vertically). I have always done this in Apple’s “Pages” program with no problems. But now I am being forced to use Office 2007 Word. I did look this up, and hit “margins” and set them, and even tried in “paragraph/tabs” but it will not cooperate at all? Please help…..
Jim,
Since this isn’t related to the subject of the post above, I’m going to respond via email rather than here.